Few things in tactical gameplay rival the satisfaction of luring an enemy squad down a corridor and witnessing the explosive payoff of a strategically positioned trap.
Mines in ARC Raiders serve a purpose beyond inflicting damage—they’re tactical tools for battlefield dominance and creating crucial escape opportunities when combat intensifies. Through extensive testing (including numerous self-inflicted casualties), I’ve discovered that each mine variant serves a distinct purpose. Some excel at elimination, others at disruption, and one specifically targets the game’s most formidable mechanical threats. Here’s your complete guide to ARC Raiders’ explosive equipment.
 How to Fix the Problem Bar in My Winter Car (Guide Step-by-Step)
 Table of Contents
The Crowd Control Kings: Gas and Pulse
For players who embrace disruption tactics, the Gas Mine stands unmatched. This common-tier equipment releases a stamina-draining cloud that depletes 25 points per second upon deployment. While it won’t secure instant eliminations, the stamina drain immobilizes targets by preventing sprinting and dodging maneuvers. Deployment takes one second, with a three-second arming period—avoid panic placements near your position.
The Pulse Mine offers an uncommon alternative for tacticians preferring kinetic disruption. Triggering a 7.5-meter radius knockback effect, this device excels at repositioning threats away from defensive positions or creating environmental eliminations via ledge displacement. Like all mines in ARC Raiders, failed placements can be disarmed and recovered for redeployment.
 EU5 All Formable Nations List: Your Complete Map Painter’s Bible
 The Killers: Explosive and Jolt
The Explosive Mine delivers straightforward proximity-based destruction. This trap deploys vertically before detonating, inflicting 40 damage across its blast radius. Reliable and effective, it represents the baseline lethal option without additional tactical complexity.
The Jolt Mine elevates mine warfare through its shock-stunning capabilities, earning its position as the superior rare-tier option. Upon activation, it delivers a devastating 10-second stun against ARCs and a 4-second immobilization effect on enemy Raiders. In a mobility-dependent combat system, four seconds of paralysis typically guarantees elimination. Aggressive players triggering this trap face immediate incapacitation.
 ARC Raiders on Steam Deck: The Complete Settings and Performance Guide
 The Boss Killer: The Deadline Mine
Disregard any suggestions about utilizing the Deadline Mine for standard PvP ambush scenarios. This Epic-rarity equipment isn’t designed for doorway traps—it exists to eliminate high-priority threats.
Operating on a six-second timer rather than proximity activation, the Deadline Mine unleashes 1,000 damage across a 10-meter radius. Optimal deployment involves attaching the device directly to high-health enemies like Rocketeers or Bastions, then evacuating the blast zone before detonation. This approach effectively one-shots the game’s most challenging adversaries. Despite its 1kg weight (heavier than standard mines), the damage output justifies the inventory commitment.
 My Winter Car Fatigue Guide: How Fatigue Works?
 MINE COMPARISON CHART
Reference this data when selecting equipment for your loadout.
 Octopath Traveler 0 Tips: 15 Game-Changing Secrets I Wish I Knew Earlier
 | ITEM | RARITY / WEIGHT | PRIMARY EFFECT | SELL PRICE |
|---|---|---|---|
| Gas Mine | Common / 0.25 | Drains 25 Stamina/sec | 270 |
| Pulse Mine | Uncommon / 0.25 | Knockback | 470 |
| Explosive Mine | Rare / 0.4 | 40 Damage | 1,500 |
| Jolt Mine | Rare / 0.2 | Stun (4s PvP / 10s PvE) | 850 |
| Deadline Mine | Epic / 1.0 | 1,000 Damage (6s Timer) | 5,000 |
 MineMogul Beginner’s Guide: How To Go From Pickaxe Peasant To Industrial Tycoon
 What to Take
Standard raiding operations benefit most from Jolt Mines. Enemy immobilization provides significantly greater tactical value than minor damage output. However, high-tier ARC hunting demands Deadline Mines in your loadout. Remember: if you’re capable of setting traps, so are your opponents—maintain situational awareness at all times.
 EU5 Markets Guide: Stop Bleeding Ducats
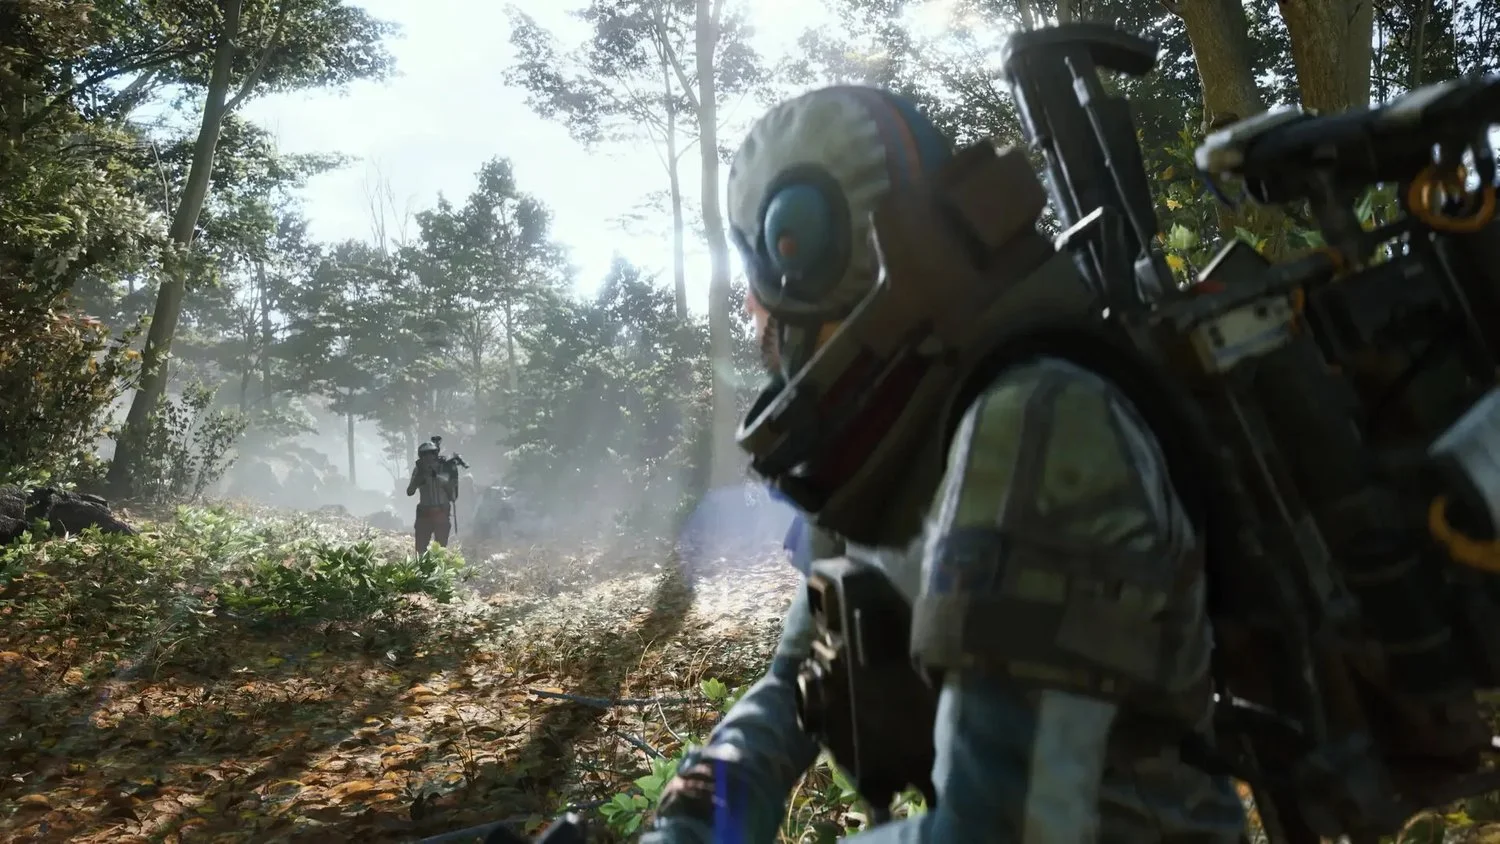